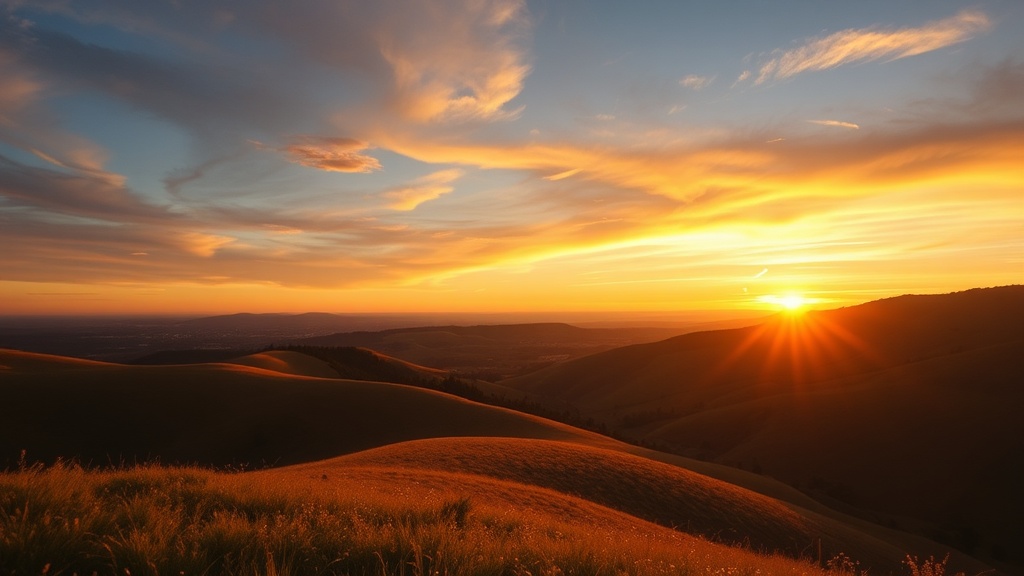
Capturing Golden Hour in Rolling Hills

Research from the National Geographic Society suggests that the human eye perceives light most effectively during the brief period when the sun is low on the horizon. This specific window of time—often called the "Golden Hour"—is the most profitable interval for photographers and travelers seeking high-quality visual documentation of rural environments. This guide provides the technical preparation, gear requirements, and logistical timing needed to successfully capture the light in rolling hill environments. We'll look at how to time your arrival, what gear to pack, and how to handle the changing light conditions typical of countryside vacations.
What Is the Best Time for Golden Hour?
The best time for golden hour is the one-hour window immediately following sunrise and the one-hour window immediately preceding sunset. Because the sun's angle changes based on your latitude and the season, you can't rely on a fixed clock. You need to check local astronomical data for your specific destination. For example, if you're traveling through the rolling hills of the English Cotswolds or the Appalachian Mountains, the timing will differ wildly between July and December.
I always suggest using a dedicated weather or astronomy app. The National Weather Service provides accurate cloud cover predictions, which is a big deal because a single stray cloud can ruin your shot. If the sky is too clear, the light might be too harsh; if it's too cloudy, you won't get that glow. It's a delicate balance.
Keep in mind that "golden hour" isn't a single moment. It's a transition. You'll see the light shift from a pale yellow to a deep, honeyed orange. If you're planning a photography-focused trip, you might want to arrive at your location at least 30 minutes early to scout your position. You don't want to be wandering around looking for the perfect ridge when the light is already fading.
What Gear Should I Bring for Rural Photography?
You should bring a sturdy tripod, a wide-angle lens, and a polarizing filter to get the most out of your scenery. While you can certainly take decent photos with a smartphone, the rolling terrain often requires more depth and control. A tripod is non-negotiable if you want to avoid the blur that comes with lower light levels.
I've found that many travelers make the mistake of overpacking heavy equipment. You don't need a professional studio setup. A few key items will do the heavy lifting. If you're hiking through hills to reach a viewpoint, weight matters. I've written about how to pack light for weekend trips, and the same logic applies here. Don't carry a bag that's going to break your back by 5:00 PM.
- A Lightweight Tripod: Look at something like the Peak Design Travel Tripod—it's compact and won't take up much room in your bag.
- Polarizing Filter: This helps manage the glare from grass or water and deepens the colors of the sky.
- Extra Batteries:: Cold air in the hills can drain battery life much faster than you'd expect.
- Microfiber Cloth: Dust and dew are common in rural areas; you'll need to keep your lens clean.
If you're a more casual traveler, your iPhone or Samsung Galaxy is actually quite capable. Modern phone sensors handle the "golden" light remarkably well. Just ensure you aren't using a digital zoom, which kills the resolution. Instead, move your body to get closer to the subject. It's a simple trick, but it makes a massive difference in the final image quality.
How Do I Handle Changing Weather and Light?
To handle changing light, you must constantly adjust your camera's exposure settings and be prepared to move your physical position. The light in the countryside is unpredictable. A sudden bank of clouds can turn a golden landscape into a grey, flat one in seconds. You need to be ready to pivot your strategy.
One way to stay ahead of the weather is to monitor local radar. If you see a storm front moving in, don't fight it. Instead, look for the "clearing" period. Often, the most dramatic light occurs right after a rainstorm when the clouds are breaking. This is where the real magic happens. It’s a bit of a gamble, but the payoff is usually worth the risk of a little dampness.
When the light is soft, you can use it to your advantage. It's perfect for capturing the texture of the hills. If the sun is hitting the side of a hill, it creates shadows that give the landscape depth. Without those shadows, the hills can look like flat, green blobs in your photos. (I've seen many people complain about "boring" photos, and usually, it's because they shot with the sun directly behind them, creating a flat, washed-out look.)
| Lighting Type | Visual Effect | Best Lens Choice | Difficulty Level |
|---|---|---|---|
| Direct Golden Hour | Warm, high contrast | Mid-range Zoom | Medium |
| Post-Storm Glow | Dramatic, high saturation | Wide-Angle | High |
| Overcast/Soft Light | Even, low texture | Prime Lens | Low |
If you find yourself stuck in a situation where the light is too harsh, try looking for "leading lines." These are paths, fences, or even the curves of a river that lead the eye through the frame. They help give the viewer a sense of scale and direction. This is especially helpful when the light is so bright that it's hard to distinguish the contours of the land.
Don't forget about your physical comfort. If you're out in the hills, the temperature drops significantly once the sun goes down. I always keep a light layer in my bag. There's nothing worse than being so cold that you can't focus on your settings. If you're looking for more tips on outdoor preparedness, check out my guide on seasonal walks to see how I prep for different environments.
The key is to be observant. Watch how the light hits the grass. Watch how the shadows stretch across the valleys. The landscape isn't static; it's a moving, breathing thing. The more you watch it, the better your shots will become. It's not just about the gear you own, but how you react to the world around you. If you're patient, the hills will eventually give you exactly what you're looking for.
Steps
- 1
Observe the Light
- 2
Choose Your Angle
- 3
Adjust Exposure Settings
- 4
Wait for the Glow